
Each general ledger account can reconciled against a statement. The most common use is for banks and credit cards, but any account can be reconciled.
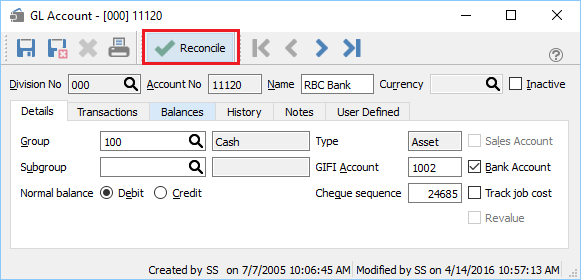
To access the account reconciliation, go to GL/Accounts and open the account to be reconciled and click on ‘Reconcile.If divisions are turned on the reconciliation should be done on the ‘000’ (consolidated) division. This is because if postings are done to multiple divisions then not all transactions will show up except in the consolidated division.
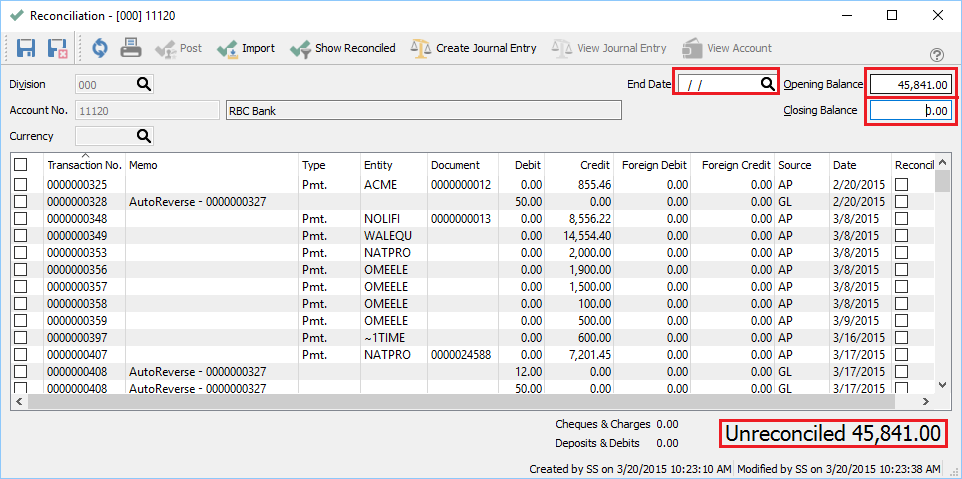
The user will be presented with this screen and they then enter end date of the statement and the opening balance, (which will be carried forward from the last reconciliation) and the closing balance from the statement.
Save – Save your work in progress.
Save & Close – Save and close the GL account.
Refresh – Refresh transactions posted elsewhere. The user can minimize the reconciliation screen to complete a transaction that effect this account and then come back and refresh.
Print – All Reports with a template of ‘Account Reconciliation’ will be presented.
Post – Post the reconciliation . The user will be asked to print the report first.
Import – Import a .qfx file from the bank that contains transactions that were posted to the account. Any transactions that match dates and amounts will automatically get the reconcile flag added.
Show Reconciled – Shows all transactions that were previously reconciled for this account. The user can uncheck one that was checked incorrectly in a past reconciliation. This should only be done when nothing else is checked because when the post button is clicked it will un-reconcile the ones that were previously reconciled and reconcile the ones checked now.
Create Journal Entry – Starts a journal entry that has the account being reconciled as the first line.
View Journal Entry – View the journal entry of the highlighted line.
View Account – Opens the GL account for viewing.
End Date – Date of the last transaction that the user wants to see.
Opening Balance – The statement opening balance that gets carried forward from the previous reconciliation.
Closing Balance – The closing balance of the statement.
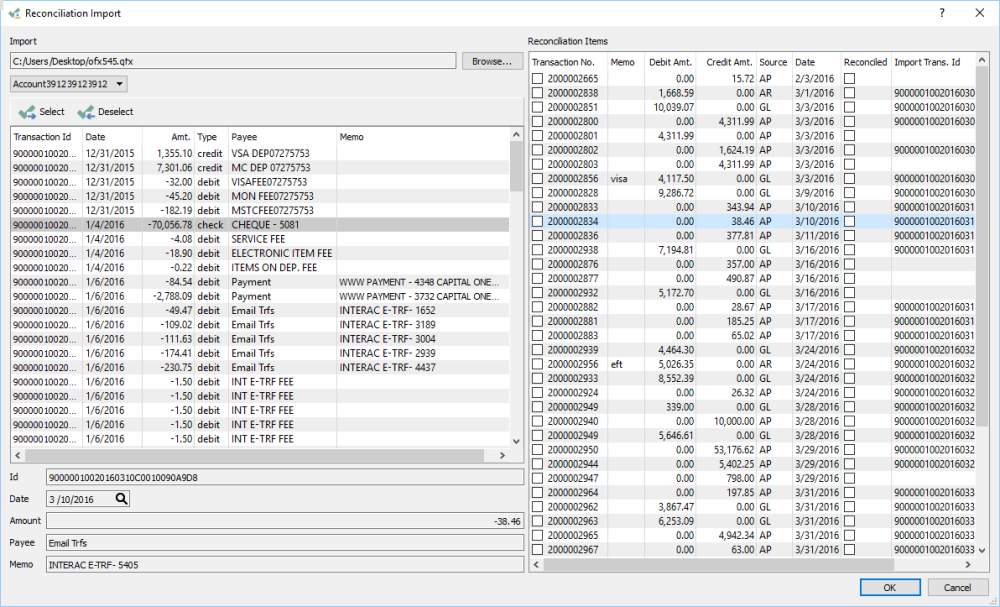
The ‘Import’ button can be clicked and the user can browse for a .qfx file that gets downloaded from web banking. It will then automatically reconcile the transactions that match dates and amounts.

Once the reconciliation is balanced the bottom right field will say “Unreconciled 0.00”. The user can then click the ‘Post’ button and they will get the opportunity to print the report.
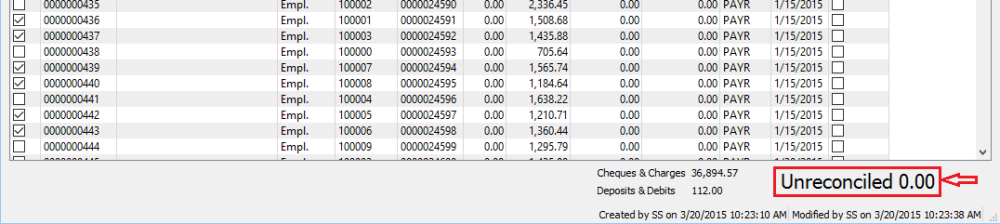
Once printed they will be asked if they want to post the reconciliation.

Reversing a Reconciliation
Sometimes an error is made after the account reconciliation has been posted, and the user would like to reverse and re-do it.
First of all make sure there are no check marks in the reconciliation screen and then click “Show Reconciled”
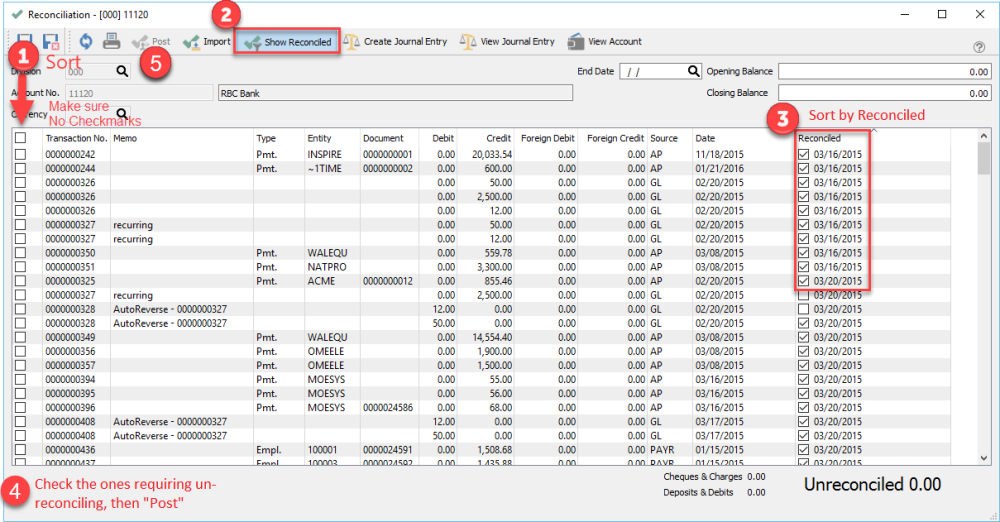
- Sort the list by the reconciled date and un-check all the ones for the date that needs to be un-posted. (Note- the check to use is the left hand column and not the one next to the reconciled date)
- Once selected click on ‘Post’ and you will be prompted for a report which can be cancelled,
- Click OK to post and the reconciliation for that date will be reversed.