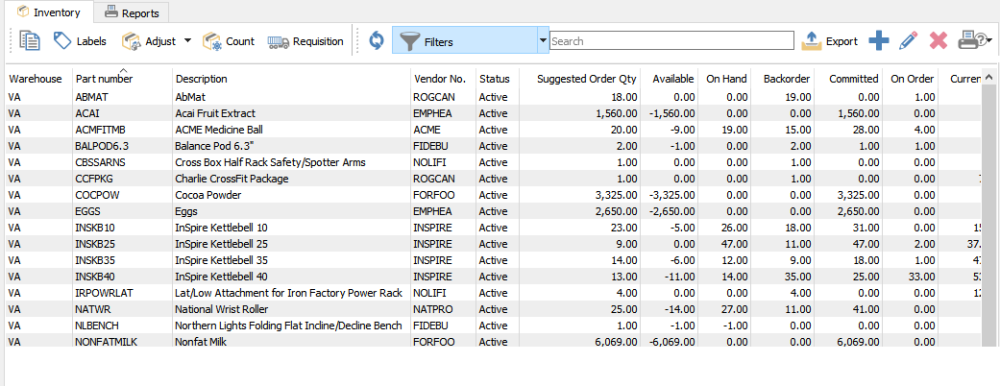
Inventory List – When inventory is selected from the main menu, the inventory list is presented to the user either the last way they left it, or using the default, if it was set by the user. It remembers column position, width and the column it was sorted by.
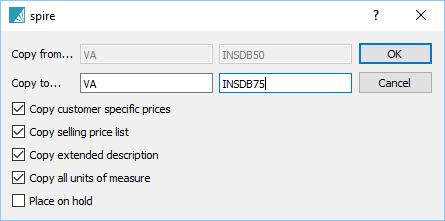
Copy – If a user selects an item and clicks copy, the item is opened and the user can select what to copy to the new item. Then enter a new part number for the item and click OK. The item will then be editable before saving it.
- Customer Specific Prices
- Selling Price List
- Extended Description
- Units of Measure
- Place on Hold
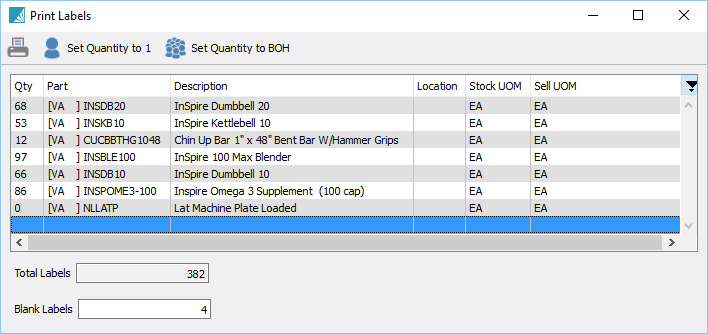
Labels – Any number of item scan be selected and then click on the labels button.
The following dialog will come up and the user can:
- Set Quantity to one of each label
- Set quantity to on-hand for each item (default)
- Set how many blanks to print first in case some of the labels on the sheet are used
- Once all selections are made they can print the labels required
Adjust – Any number of inventory items can be selected and then click on adjust. By clicking the down arrow next the the adjust button, it will become a warehouse transfer instead. The items will then be passed to a list that the user can edit and add to. The quantities default to zero so the user can edit them to whatever quantity is required to adjust. The default GL credit account that was setup in Company Settings Inventory is on each line by default but can be edited. See Inventory Adjustments for more detail.
Count – Used to pass selected items to the count module. See this link for details
Requisition – Highlight any number of items and click the requisition button. Usually the user will sort ot filter by the column “Suggested Order Qty’ and click the requisition button. The items will get passed to the requisition screen where they can be saved for later ordering, or by processing them direct to a purchase order. See ‘Requisitions’ for more detail.
Refresh – Refreshes the list with any changes made by another user or a process like invoices and purchase order changing on-hand and costs,
Filters – Allows the user to filter the list to only show what they want. See ‘Filters’ for more information.
Export – Exports the current list layout and sort to Excel or .csv in the same order as listed.
Add – Click to add an inventory item
Edit – Click to edit an inventory item,
Delete – Click to delete an inventory item. There cannot be any on-hand, back ordered, committed or on-order inventory items of this type to be able to delete the item.
Print – Prints inventory reports. Users can select ‘Print All’ for every item on the filtered list, or ‘Print Selected’ and then only items highlighted will be passed to the report.


