
To setup inventory adjustments go to Company Settings/Inventory and select a default GL account that adjustments should be posted to. This should be a cost of goods account that writes off the inventory.
Inventory adjustments can be reached from 2 places in Spire. From the inventory list the user can highlight the items to be adjusted and then click the Adjust button on the top of the inventory list.
The other way to reach adjustments is via the top menu under Inventory/Inventory Adjustments. Click the + button to create a new inventory adjustment.
Adjustment Header
Save – Saves the adjustment and assigns a number. The items on this list have now been put ‘In Transit’. This means that they have been committed in the warehouse. In the case of a warehouse transfer, the items in the ‘from’ warehouse get committed, and the items in the ‘to’ warehouse get set as ‘On-Order’ just like when they are on an issued purchase order.
Save Close – Same as saving but it closes the adjustment and shows the list.
Print – Prints the pending adjustment
Post – Posts the adjustment. The items are removed from the ‘in transit’ state and are posted as receipts. They also get posted to the purchase history table using the adjustment number as the PO number. This way a user can review and print past adjustments.
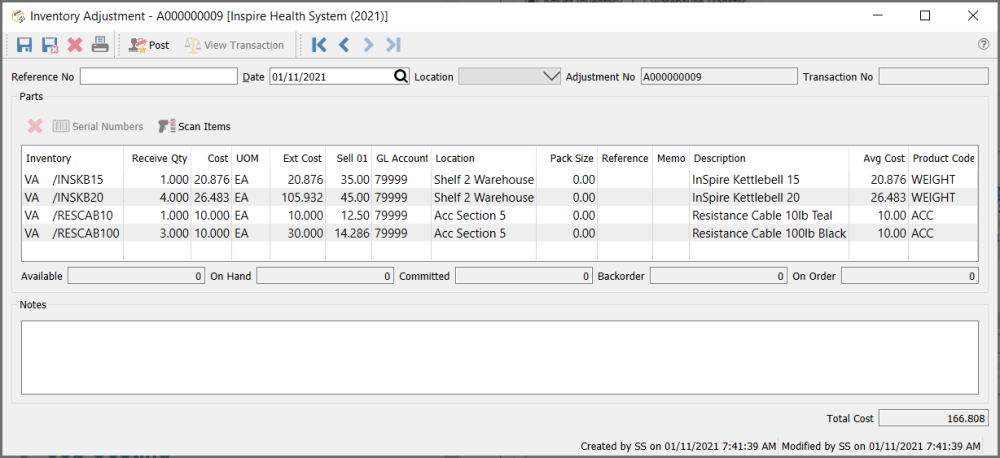
Reference No – User can add a reference number to the adjustment
Date – The date that will get used for the receipt and GL posting
Adjustment No – Adjustments have a sequential number that starts with an ‘A’ as a prefix.
Adjustment Body
Delete – Removes a line off of the adjustment
Serial Numbers – Use to select the serial or lot number to be adjusted
Scan Items – Use this option to scan items one at a time. Users can also directly scan serial or lot numbers and the item will also get populated.
Inventory – Warehouse and part number
Description – Description of part number
Receive Qty – Quantity to adjust. Use minus quantity to remove items from stock
Cost – Cost of the item. Defaults to the average cost but the user can edit this. (be careful as this should only be used if the GL account is accruing the purchase)
UOM – Unit of Measure to be adjusted. Defaults to the stocking UOM
Ext Cost – Extended cost of the line
Avg Cost – Extended average cost
Sell 01 – Sell price 1 from inventory. This can be edited and it will update inventory.
GL Account – GL account that this line will post to. The inventory GL account for the sales department of this item will always be used for the transaction as well.
Location – The warehouse location for this item. This can be edited and it will update inventory.
Pack Size – The pack size that this item is in. This can be edited and it will update inventory.
Reference – A free field for info on the Inventory adjustment
Memo – The user can enter a memo for this entry.
Adjustment Footer
Notes – Notes can be added for this adjustment and will be save as a communications note in purchase history.
Total Cost – Total cost of the adjustment.