Configuring your custom fields
Make sure you first have access to design the UDF structure.
To add new fields to one of your modules, go to the tab “User Defined” within one of the records. In this example we will add some fields to the sales order. Note that fields added to sales order will get posted to sales history.
Open a sales order and go to the ‘User Defined’ tab.
First you need to add a ’Page’ to the structure by clicking on ‘Add Page’. Give the page a name that will appear as a tab.
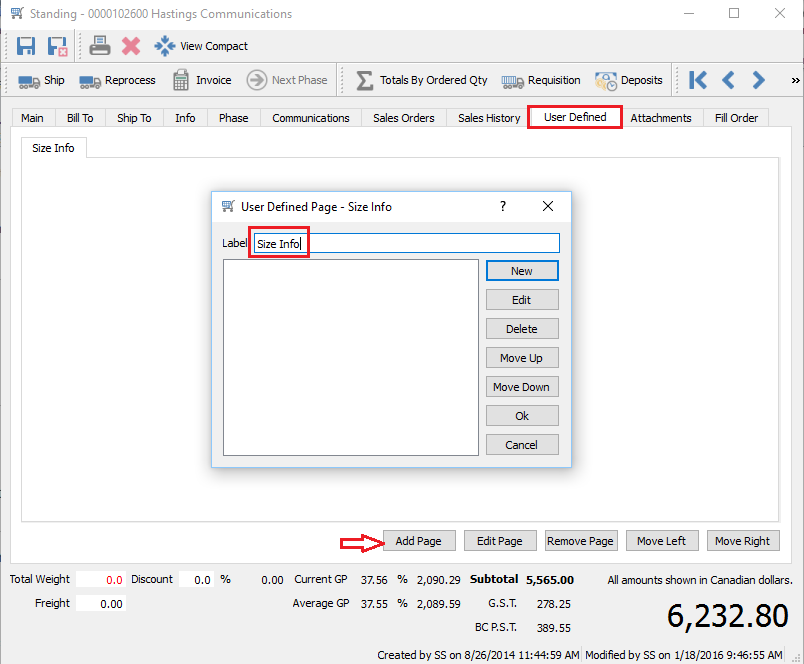
Within the page info dialog click ‘New’ to add a field.
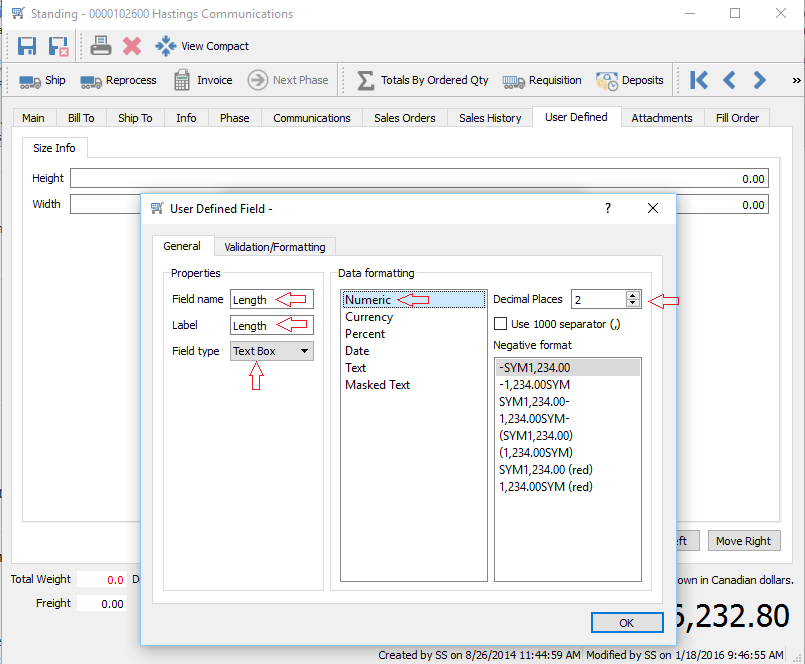
In this example we added 3 new fields in our page called ‘Size Info’.
- Height
- Width
- Length
We set the 3 fields as numeric with 2 decimals.
You should take care when creating the field names because when data is retrieved by Crystal Reports it is case sensitive. Therefore if you set the field name as Due Date and you ask Crystal to retrieve DUEDATE it will not return any results.
We can also set some validation for the fields we added.
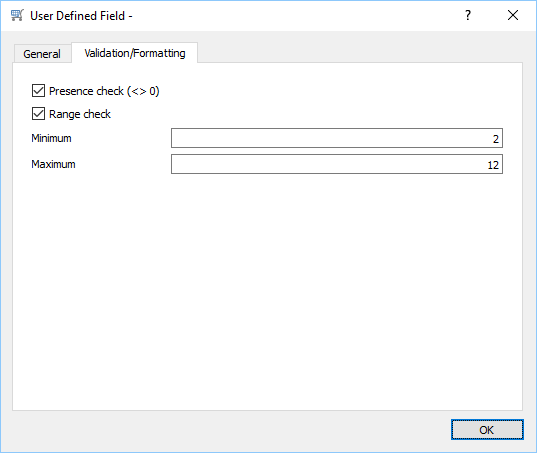
On this field we checked that the field cannot be zero and has to fall between 2 and 12.
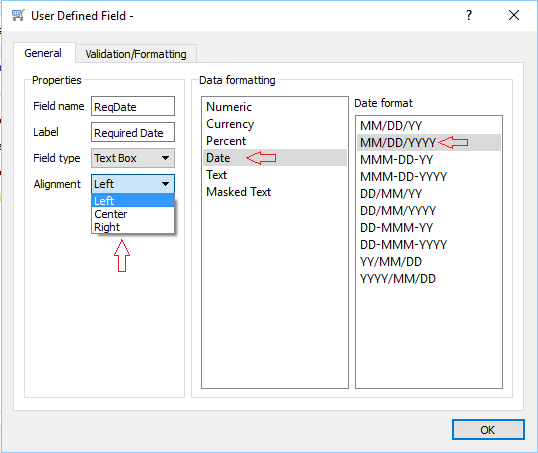
We also added a page called ‘Progress’ and included a field called ‘Required Date’ and made it left aligned, and formatted as MM/DD/YYYY.
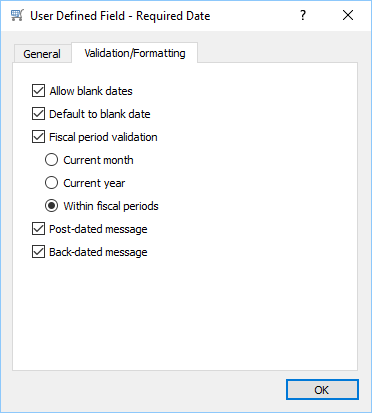
We can also add date validation by selecting
- Allow blank dates
- Default to blank date
- Fiscal Period validation
- * Current month
- * Current year
- * Within fiscal periods
- Post-dated message
- Back-dated message
If the post-dated or back-dated message options are selected the user will be prompted with a message that the date is either before or after the fiscal validation. But then still let them enter it.
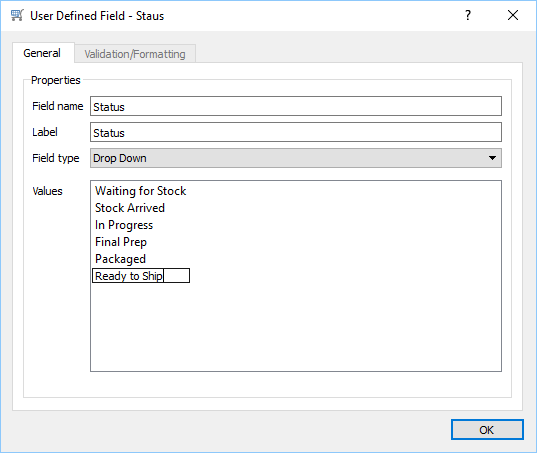
We can add a dropdown list for the user to select from
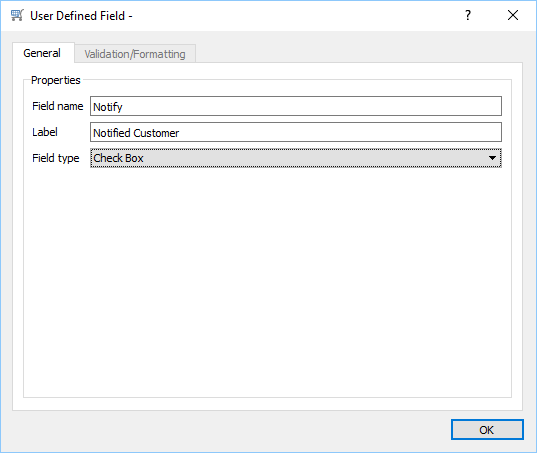
We can add a checkbox.
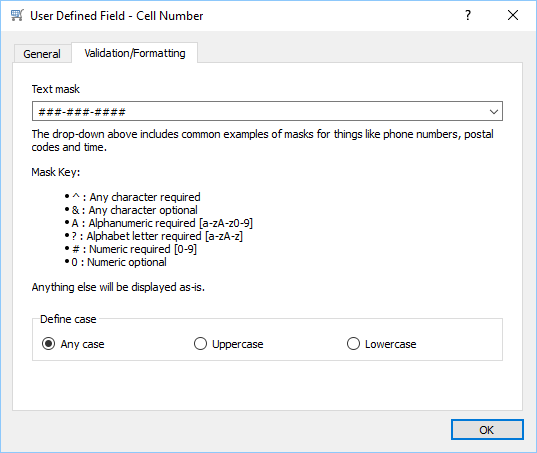
In the case of a text field it can be masked and have the case defined. In this example we added a cell number and we want it formatted as 555-555-5555 for use the number symbol ###-###-#### with – between them.
Another example is that if you want a text field to only be a certain width you can set it as ‘masked text’ and set the width by populating the mask with a quantity of & to equaling the width. For example if you want it 6 characters wide enter &&&&&& .