To be able to provide payroll direct deposit for your employees, you first have to configure your company banking information on the General Ledger bank account and the EFT Settings tab, as specified either on the Payroll Department or the Special Bank Account in Company Settings.


When setting up the EFT file format on the GL bank account, choose the format that your bank accepts for uploading. Confirm with your bank the information that must be entered, and not all fields are required, depending on the file format used.
Employee Setup
On each Employee record, on the Details tab, you must enable the Direct Deposit option so that the employee is selected by the Timecard EFT procedure, and add their banking information for the deposit to complete successfully.

Timecard Export
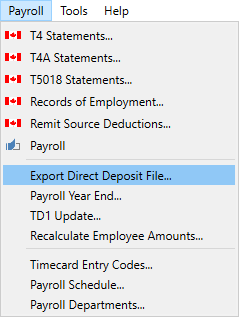
After timecards are processed, there are two places where the EFT Direct Deposit file generation process can be initiated. One place is from the Payroll top menu and the Export Direct Deposit file selection.

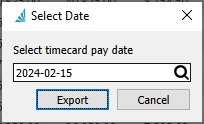
This brings up a window where you enter the timecard batch date to select which timecards will be exported.

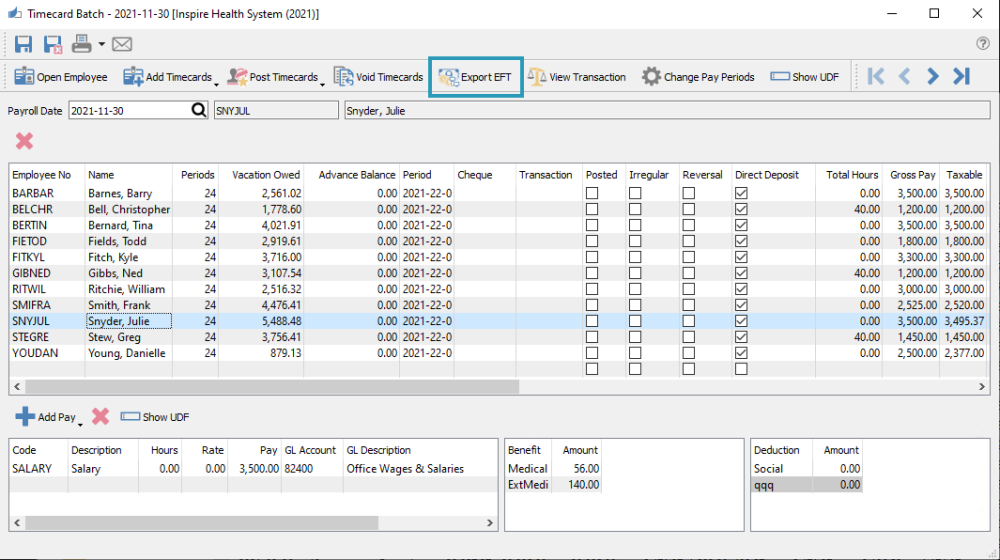
The other place is from within an opened Timecard Batch window. From here, click the ‘Export EFT’ button to start.

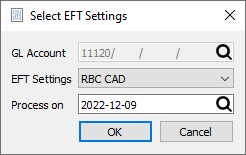
Both methods will open an EFT Settings window to see the bank account and select the bank EFT configuration – if more than one has been set up – and set the processing date to be written in the EFT upload file.

Then you can create and save the file in the specified format. When complete, this file can be uploaded to the bank.
If you started the Direct Deposit export when editing a specific timecard batch, and a Clearing GL account has been set on the Payroll Department, after the export is complete you will receive a prompt to create another GL journal entry to transfer the EFT amount from the clearing account to the bank account.
See the Processing Timecards video for a demonstration of this process.

