After you have completed downloading the file(s) required you are ready to start the Server installation.
Click on the link from your Download screen (or on the file itself from your Downloads folder).
When the server is installed one of the options presented is whether you also want to install the workstation (desktop Spire client).
You will see the usual Windows prompt for an executable file. Click on Run.
You will then come to the Install Wizard that first asks where to install Spire. Generally there is no need to change the install location from the provided default.

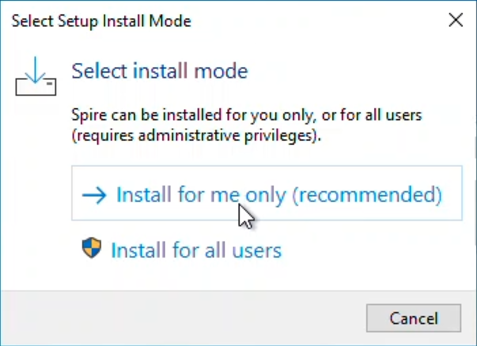
If you are a user that does not have administrative rights to your machine, you will receive a screen to choose the Spire installation either just for your use credentials, or for any user that accesses this machine. The latter choice requires administrative rights.

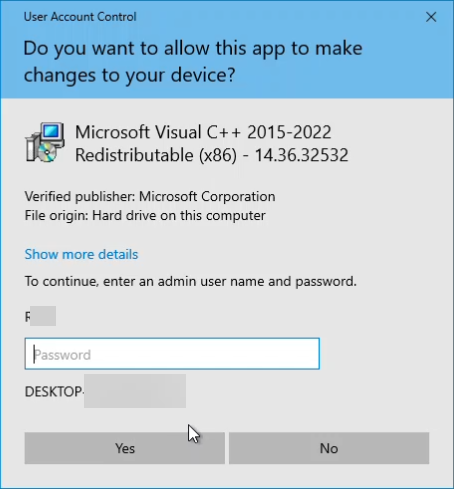
Regardless of which mode you choose, you might require an elevation to admin rights as part of the install, if other required system files also need to be installed, such as the C++ redistributable or Crystal Reports runtime files.

The next step asks if you want to have Spire manage the PostgreSQL database engine. It is recommended that you accept this, unless PostgreSQL has been installed by another application besides Spire. Note that if you do not choose to let Spire install PostgreSQL it may not be configured optimally for operation in support of Spire.

Next the install asks where to install the PostgreSQL database. Choose the fastest drive possible that has enough available space.
You are asked if the user accounts should be restored. This option should be selected if a previous version of Spire (version 3.xx and above) is being restored to a new server. Spire stores the user credentials in a database that is not backed up with the company data. Spire automatically backs up the users database on a daily basis. Note that only the basic information about the user is stored in the user database, and all options and security selections are stored and backed up in the company data. Note that restoring this database is desirable when either migrating servers, or restoring a server that has been lost.
The user backup file is called _spire _ with a date/time appended to it. i.e.- spire_2023-05-31.backup

Next you will be asked to create a password for access to the database through tools like pgAdmin. This is not the same as the ‘Spire Admin Account’. Please keep this password secure.

You will need to define the Port that will be used by the application. By default, it is set to 10880. If this is a new installation of Spire, and you aren’t upgrading from BV/BVE, then leave the port set to the default value. However if you are upgrading, and BVEssentials exists on this server, then it may already be using Port 10880. If this is the case, you will need to change one or the other to prevent a conflict. We recommend you let Spire keep 10880 and set BVEssentials to something else (i.e. 10888).

The next window discusses Firewall Exceptions – it is recommended you leave this set to the default of Add Exceptions.

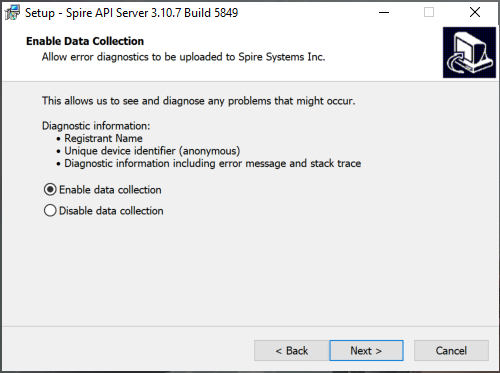
The next window asks permission to turn on data collection. This allows and errors to be sent to Spire without the users intervention. It is highly recommended that this option be left active as this aids in program development. No proprietary information is sent.

The next step is the name of the Windows start menu where some shortcuts will be created.


