After you have finished downloading the file, you are ready to start the Client installation. Click on the link from your Download screen (or on the file itself from your Downloads folder).
You will next see the Spire Setup Wizard. Click Next to continue.
You will be asked to select an installation location. We recommend leaving it set to the default.

The next window asks permission to turn on data collection. This allows and errors to be sent to Spire without the users intervention. It is highly recommended to turn this on as it helps us with program development. No propitiatory information is sent.

Next you will be asked about setting Desktop and Quick Launch Icons – set preferences as you wish.

You are ready to proceed – click Install.

You will see a Progress Bar.

You will be notified that the installation is complete.

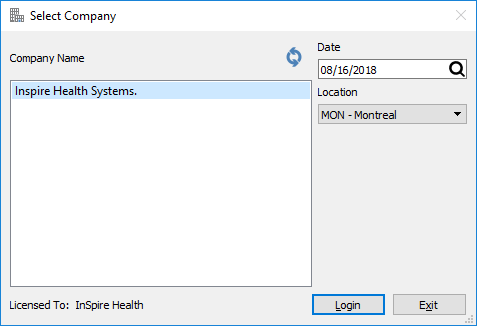
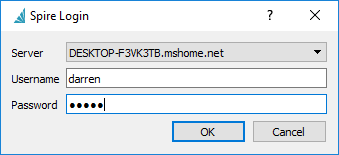
You may then launch the Client and log in to Spire. Note that you log in before selecting a company as not every user has access to all company’s.
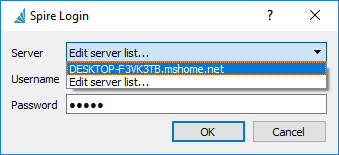
The first time you log in you will have to select a server from the drop down list.
You will only see the companies that you have access to. Select one of them and click ‘Login’