
To be able to Edit UDF Structure, this User Setting option must be enabled in the General area.
To add or change a UDF field in a module, open the tab “User Defined” while editing one of the records in that module. This example will demonstrate UDF fields on Sales orders, which are also simultaneously maintained in Sales History.
Open any sales order and the ‘User Defined’ tab. If you have user security rights, the UDF Properties button at the lower right will be visible, for accessing the UDF structure setup screens.
Page Tabs
First, you need to have at least one ’Page’ for assigning UDF fields. Click the New Page button to add the first or any subsequent page, which will display as a tab name. Pages can be organized and sorted as needed.

Fields
On each page within the UDF structure, you can add as many fields as required. For example, highlight the ‘Size Info’ page and click the New Field button to add a field.

In this example we added 3 new numeric fields to the ‘Size Info’ page.
- Height
- Width
- Length
Field Name – A unique identifier for the UDF field within this module.
Label – How you want the UDF field to be identified for users.
Data Type – Choose the type from the list of available selections:
- Text
- Multiline Text
- Integer
- Numeric
- Currency
- Percent
- Date
- Boolean (True/False checkbox)
Decimal Places – For number types except Integers, you can set the precision for decimal entry, which defaults to 2.
Required – If you want to ensure that a UDF has a non-blank value, enable the Required setting on the field from the General tab.
For Text fields, you can determine if the field will be for simple text entry, or if there will be a drop-down for choosing values you enter here.

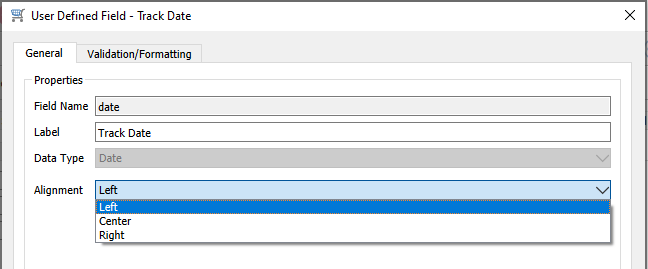
Alignment – For Text Box and Date types, you can choose how the value is positioned within the UDF field object.
From the UDF Structure screen, you can drag fields and drop them to re-sort them within the same page, or move them to a different page if desired.
Validation
If you want to enforce entered UDF field values to fall within a particular range for consistency or to protect against errors, these can be defined on the Validation/Formatting tab. Each field data type has different validation options available. For for the four number-based fields, you can assign whether the UDF field value must fall within a specified minimum and/or maximum range.

Here, the UDF field value must be between 2 and 12, inclusive.
For Date fields, validation includes options for whether blank is the default value, if the entered date must be within a certain range, and if a warning message appears.

If either the post-dated or back-dated message options are selected, you will be prompted with a warning message that the date is outside the validation range but still be allowed to save it.
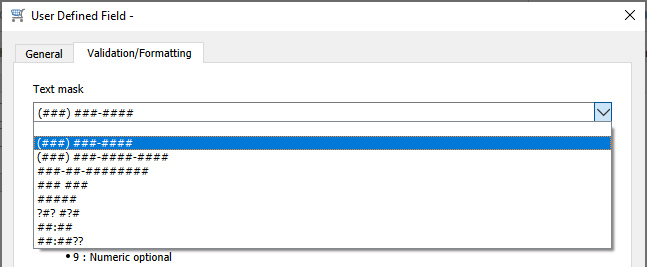
For Text Box fields, you can create a mask to enforce consistent formatting. Some common text masks can be selected from a drop-down field, such as for formatted phone numbers.
More specific formatting can be defined, that determines the number of characters you are allowed to enter, the type of character in each position, and if letters must be in upper or lowercase.
Below is an example for a code that starts with an uppercase letter, followed by a number from five to eight digits.
